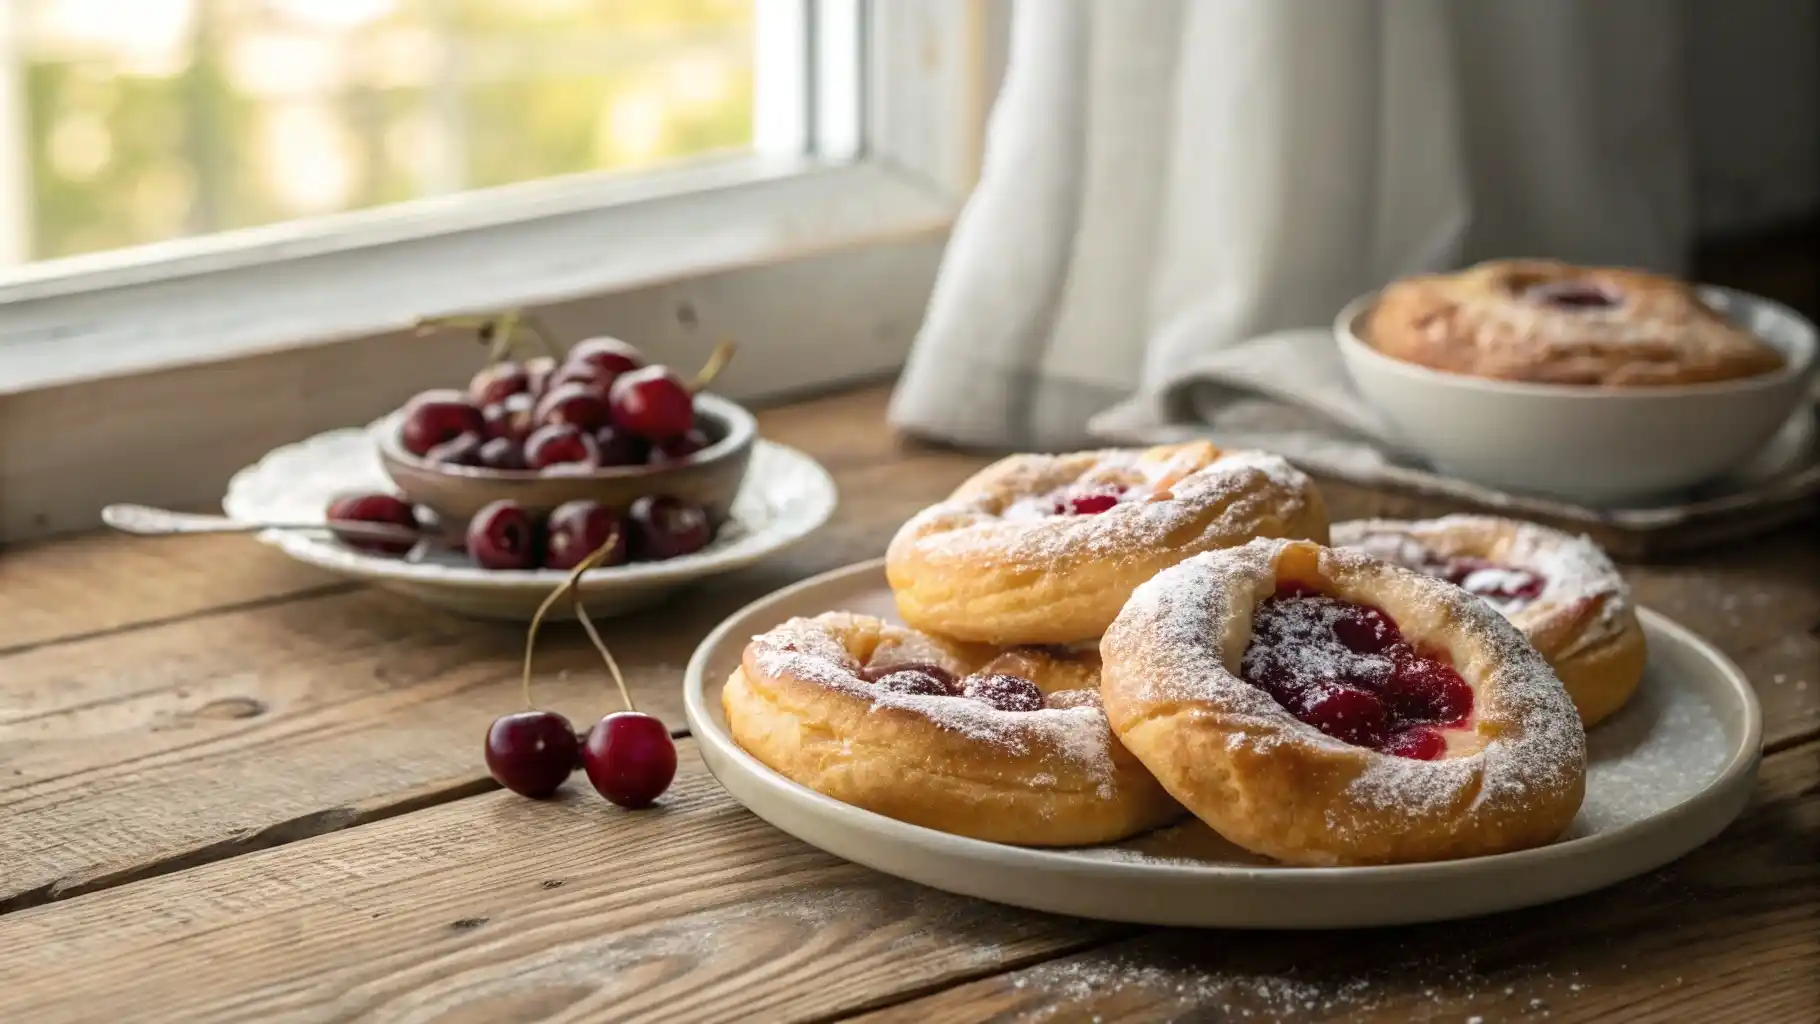
There’s something incredibly comforting about biting into a warm, flaky Danish pastry filled with sweet cherries and creamy cheese. This Cherry Cheese Danish Recipe is a nod to the traditions of my Italian grandmother, who loved adding a Mediterranean twist to her baking. While this treat originates from Denmark, we embraced it as our own, infusing it with heartfelt memories and our unique touch.
Growing up, Sunday mornings were sacred in our home. The smell of freshly baked pastries wafted through the kitchen long before the sun hit the windows. My nonna, who had a deep love for European desserts, made these cherry cheese Danishes her own by using seasonal cherries and homemade ricotta cheese. Every bite was love wrapped in buttery layers.
In this recipe, I’ll guide you step-by-step through the process so you can recreate this delightful pastry in your own kitchen, with a few modern shortcuts and old-world charm.
Why You’ll Love This Cherry Cheese Danish Recipe
- Sweet and tangy cherry filling pairs perfectly with creamy cheese.
- Buttery, flaky pastry gives that classic bakery texture.
- Easier than you think – using puff pastry saves time without sacrificing flavor.
- Perfect for brunch, dessert, or special occasions.
Ingredients
the Cheese Filling:
- 8 oz cream cheese, softened
- 1/4 cup granulated sugar
- 1 tsp vanilla extract
- 1 egg yolk
the Cherry Filling:
- 1 1/2 cups fresh or frozen cherries, pitted
- 1/4 cup sugar
- 1 tbsp cornstarch
- 1 tbsp lemon juice
- 1/4 tsp almond extract (optional)
the Pastry:
- 1 sheet puff pastry, thawed
- 1 egg (for egg wash)
- Powdered sugar for dusting (optional)
Instructions
Prepare the Cherry Filling

- In a saucepan, combine cherries, sugar, and lemon juice. Cook over medium heat for 5–7 minutes until the cherries start releasing their juices.
- Mix the cornstarch with a tablespoon of water to create a slurry.
- Stir the slurry into the cherry mixture and continue to cook for another 2–3 minutes until thickened.
- Remove from heat and stir in almond extract if using. Let it cool.
Make the Cheese Filling
- In a bowl, mix softened cream cheese with sugar, vanilla, and egg yolk.
- Beat until smooth and creamy.
Shape the Danish
- Preheat oven to 375°F (190°C). Line a baking sheet with parchment paper.
- Roll out the puff pastry and cut into 4–6 rectangles.
- Score a border about 1/2 inch from the edge of each rectangle. This helps create a puffed edge.
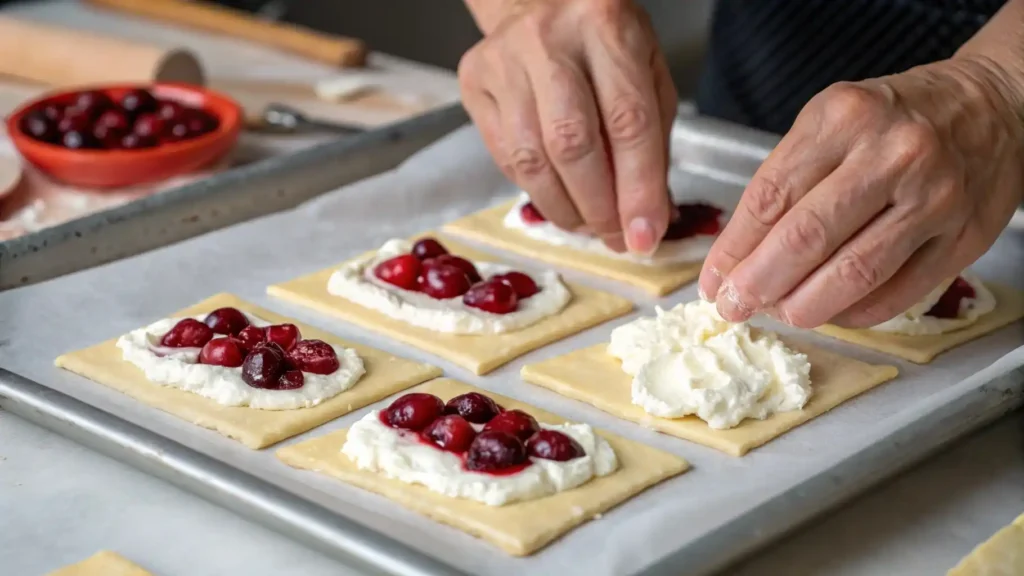
- Spread a spoonful of cheese mixture in the center of each piece.
- Add a generous dollop of the cooled cherry filling on top of the cheese.
Bake
- Beat the egg and brush the edges of the pastry.
- Bake for 18–22 minutes or until the edges are golden brown and puffed.
- Allow to cool slightly, then dust with powdered sugar if desired.
Tips for Success

- Use full-fat cream cheese for the best texture.
- Don’t overfill the center or it may spill during baking.
- Frozen cherries work great when fresh ones are out of season—just be sure to thaw and drain them well.
- Puff pastry should be cold when it goes into the oven for the best rise.
Variations and Twists
- Mini Danish bites: Cut the pastry into smaller squares for party-friendly treats.
- Add a streusel topping for extra crunch.
- Swap cherries for blueberries or raspberries for a different fruity take.
- Make it savory: Try a cheese and herb filling with sun-dried tomatoes.
Storing and Reheating
These Danishes are best enjoyed fresh, but they store well:
- Refrigerate: Store in an airtight container for up to 3 days.
- Reheat: Warm in the oven at 300°F for 5–7 minutes to crisp them up.
Can I Make Them Ahead of Time?
Yes! You can assemble the Danishes and keep them in the fridge (covered) for a few hours before baking. Bake just before serving for best results.
Frequently Asked Questions
Can I use store-bought cherry pie filling?
Yes, in a pinch. But homemade cherry filling has a fresher, tangier flavor that balances the cheese beautifully.
Do I have to use puff pastry?
You can use crescent dough for a more bread-like texture, or make a homemade Danish dough if you’re feeling adventurous.
Can I freeze these pastries?
They freeze well after baking. Let them cool, wrap tightly, and freeze for up to a month. Reheat in the oven for best texture.
The Cultural Twist: From Denmark to Italy
Though Cherry Cheese Danish has its roots in Scandinavian baking, variations have been embraced across Europe. In Italy, the use of ricotta instead of cream cheese adds a rustic, earthy flavor. In France, pastries are more buttery and light. This recipe blends these traditions into one delicious hybrid.
Perfect Pairings

- A hot espresso or cappuccino
- Fresh orange juice
- A light arugula salad if served at brunch